이미 앞에 1편에서 PIL(Pillow) 라이브러리에 대해서 알아보고, 설치 및 간단히 이미지 변환을 해보았다.
그럼 기본적인 부분은 이미 1편에서 진행했으니 2편에서는 이미지를 여러 방법을 통해서 변환을 하는 부분에 대해서 알아보도록 하자.
1. PIL(Pillow) 라이브러리 사용 방법
1.1 이미지 썸네일 만들기
# -*- coding: utf-8 -*-
from PIL import Image

# 3. 이미지 썸네일 만들기 #
try:
    im = Image.open("anchors.png")
    img_width, img_height = im.size
    print("이미지 사이즈:", im.size)
    print("이미지 가로:", img_width)
    print("이미지 세로:", img_height)
    print("이미지 모드:", im.mode)

    size = (100, 100)
    im.thumbnail(size)
    im.save("anchors_thumbnail.png")
    thum_im = Image.open("anchors_thumbnail.png")
    img_width, img_height = thum_im.size
    print("썸네일 이미지 사이즈:", thum_im.size)
    print("썸네일 이미지 가로:", img_width)
    print("썸네일 이미지 세로:", img_height)
    print("썸네일 이미지 모드:", thum_im.mode)
except OSError as e:
    print(e)


[OUTPUT]
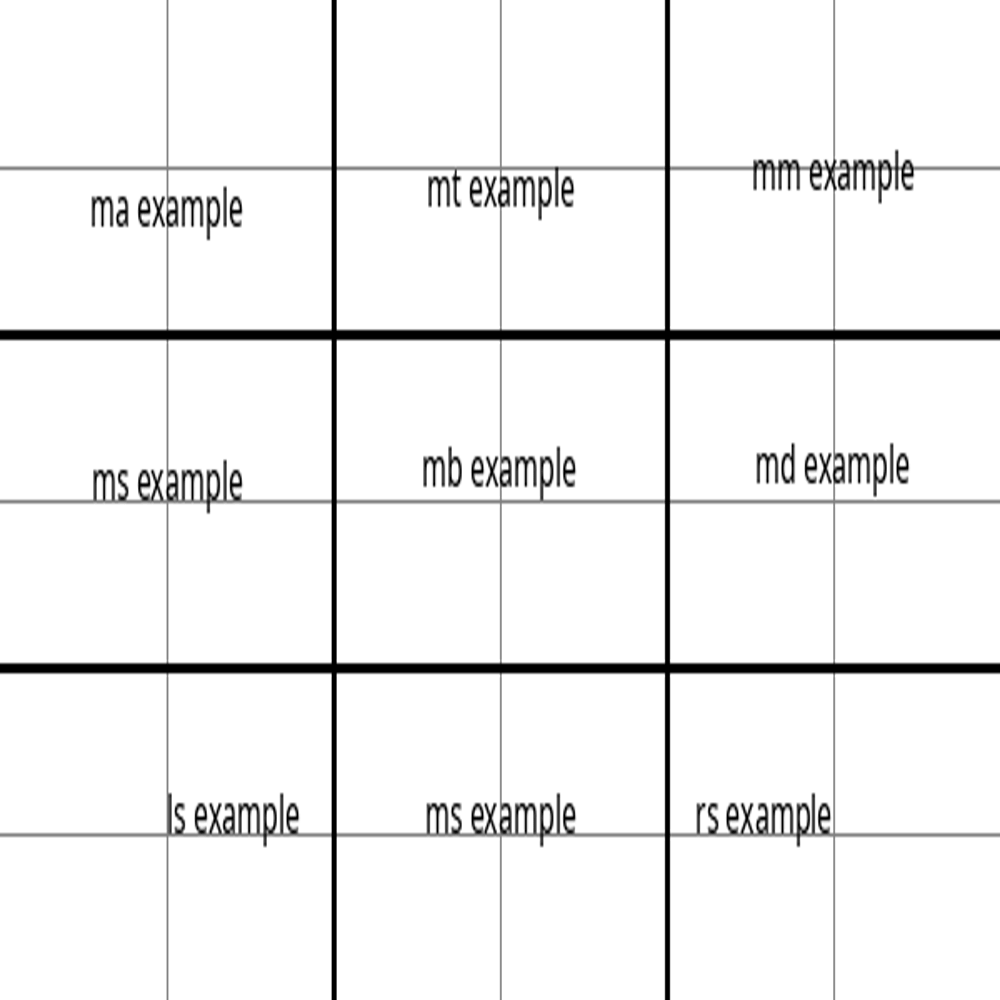
이미지 사이즈: (600, 300)
이미지 가로: 600
이미지 세로: 300
이미지 모드: RGBA
썸네일 이미지 사이즈: (100, 50)
썸네일 이미지 가로: 100
썸네일 이미지 세로: 50
썸네일 이미지 모드: RGBA

1.2 이미지 크기 변경
# -*- coding: utf-8 -*-
from PIL import Image

# 4. 이미지 크기 변경 #
try:
    im = Image.open("anchors.png")
    img_width, img_height = im.size
    print("이미지 사이즈:", im.size)
    print("이미지 가로:", img_width)
    print("이미지 세로:", img_height)
    print("이미지 모드:", im.mode)

    size = (1000, 1000)
    resize_img = im.resize(size)
    resize_img.save('anchors_resize.png')

    resize_im = Image.open("anchors_resize.png")
    img_width, img_height = resize_im.size
    print("크기변경 이미지 사이즈:", resize_im.size)
    print("크기변경 이미지 가로:", img_width)
    print("크기변경 이미지 세로:", img_height)
    print("크기변경 이미지 모드:", resize_im.mode)
except OSError as e:
    print(e)


[OUTPUT]
이미지 사이즈: (600, 300)
이미지 가로: 600
이미지 세로: 300
이미지 모드: RGBA
크기변경 이미지 사이즈: (1000, 1000)
크기변경 이미지 가로: 1000
크기변경 이미지 세로: 1000
크기변경 이미지 모드: RGBA

1.3 이미지 회전 하기
# -*- coding: utf-8 -*-
from PIL import Image

# 5. 이미지 회전 각도 변경 #
try:
    im = Image.open("anchors.png")
    img_width, img_height = im.size
    print("이미지 사이즈:", im.size)
    print("이미지 가로:", img_width)
    print("이미지 세로:", img_height)
    print("이미지 모드:", im.mode)

    rotate = 90
    rotate_img = im.rotate(rotate)
    rotate_img.save('anchors_rotate.png')

    rotate_im = Image.open("anchors_rotate.png")
    img_width, img_height = rotate_im.size
    print("회전 각도 이미지 사이즈:", rotate_im.size)
    print("회전 각도 이미지 가로:", img_width)
    print("회전 각도 이미지 세로:", img_height)
    print("회전 각도 이미지 모드:", rotate_im.mode)
except OSError as e:
    print(e)


[OUTPUT]
이미지 사이즈: (600, 300)
이미지 가로: 600
이미지 세로: 300
이미지 모드: RGBA
회전 각도 이미지 사이즈: (600, 300)
회전 각도 이미지 가로: 600
회전 각도 이미지 세로: 300
회전 각도 이미지 모드: RGBA

1.4 이미지 필터 적용
# -*- coding: utf-8 -*-
from PIL import Image
from PIL import ImageFilter

# 6. 이미지 필터 적용 #
try:
    im = Image.open("anchors.png")
    img_width, img_height = im.size
    print("이미지 사이즈:", im.size)
    print("이미지 가로:", img_width)
    print("이미지 세로:", img_height)
    print("이미지 모드:", im.mode)

    filter_img = im.filter(ImageFilter.BLUR)
    filter_img.save("anchors_filter.png")

    filter_im = Image.open("anchors_filter.png")
    img_width, img_height = filter_im.size
    print("필터 이미지 사이즈:", filter_im.size)
    print("핕터 이미지 가로:", img_width)
    print("핕터 이미지 세로:", img_height)
    print("핕터 이미지 모드:", filter_im.mode)
except OSError as e:
    print(e)


[OUTPUT]
이미지 사이즈: (600, 300)
이미지 가로: 600
이미지 세로: 300
이미지 모드: RGBA
회전 각도 이미지 사이즈: (600, 300)
회전 각도  이미지 가로: 600
회전 각도  이미지 세로: 300
회전 각도  이미지 모드: RGBA

2. 예제 Code
이번에는 1편에 이어 여러 방법을 통해 이미지 변환하는 방법에 대해서 알아보았다.
위에 나온 예제 파일은 itschool-info-lab Github에 올려놓았다.
PIL(Pillow) 라이브러리를 모든 기능을 다 정리 하지는 않았지만 1, 2편으로 나눠 정리를 해보았다.
해당 내용을 따라 해보면 금방 이해하고 익숙해질 것이다.
itschool-info-lab/python-example-code
:: IT School :: Python Example Code. Contribute to itschool-info-lab/python-example-code development by creating an account on GitHub.
github.com
3. 참고 문서
python-pillow/Pillow
The friendly PIL fork (Python Imaging Library). Contribute to python-pillow/Pillow development by creating an account on GitHub.
github.com
'+ Development > Python' 카테고리의 다른 글
| [Python] 파이썬 SQLite3 이용하기 (0) | 2021.07.18 |
|---|---|
| [Python] 오늘 날짜의 요일 확인하기(Check the day of the week for today's date) (0) | 2021.07.17 |
| [Python] 파이썬 PIL(Pillow) 라이브러리를 이용한 이미지 변환(1편) (0) | 2021.07.05 |
| [Python] 파이썬 문자열 특수문자, 공백 제거 하기(strip, rstrip, lstrip) (0) | 2021.01.24 |
| [Python] 파이썬 IF문 한줄(one-line)로 표현하기(if, if-else, if-elif-else : 삼항 연산자) (3) | 2021.01.21 |


댓글